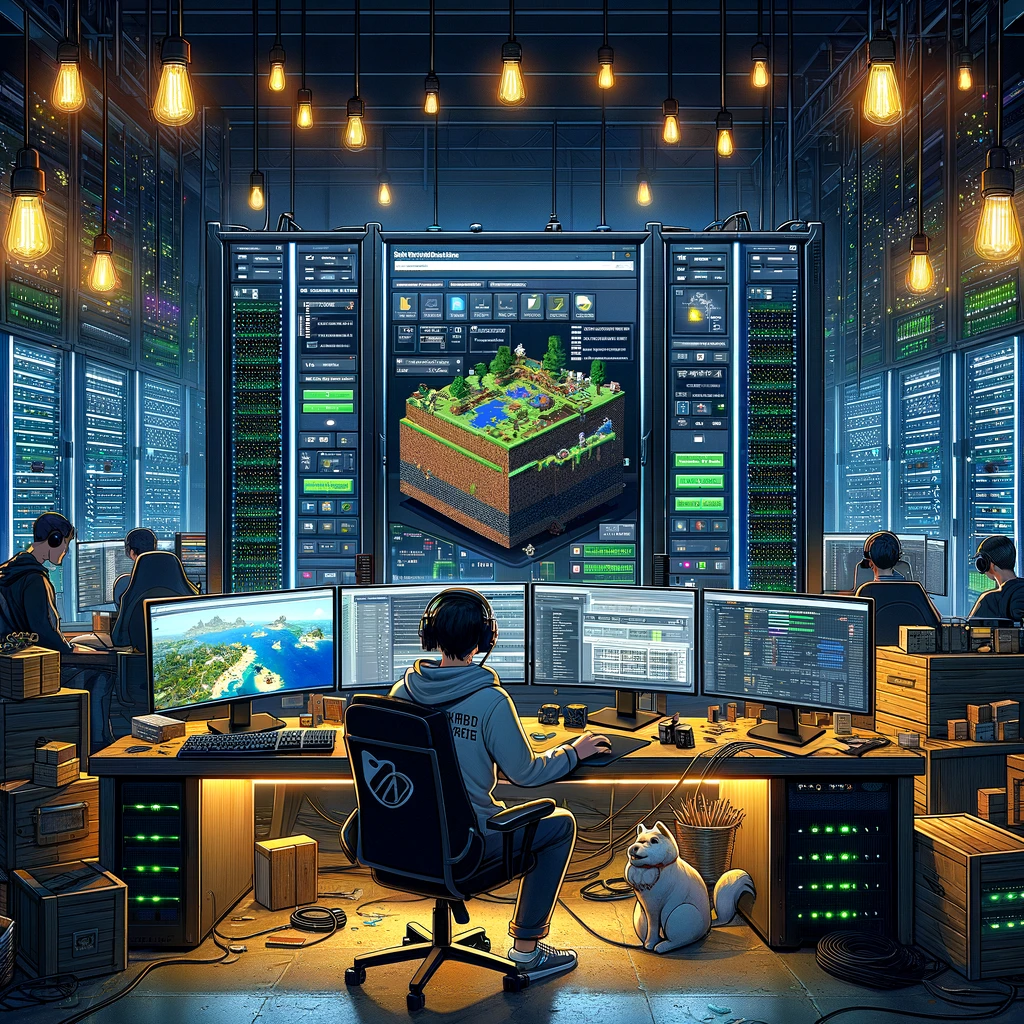
Crafting Your Own Realm: The Ultimate Guide to Setting Up a Minecraft Server
In the boundless world of Minecraft, playing on a server with friends or fellow enthusiasts can transform a solitary adventure into an epic saga. Whether you’re battling the Ender Dragon together, constructing sprawling cities, or simply enjoying the serene landscape of the game, having your own Minecraft server offers a personalized and immersive experience. Fear not, intrepid gamer, for setting up a Minecraft server is less daunting than facing a horde of creepers at night. Let’s embark on the journey to create your very own digital kingdom.
Step 1: Choosing Your Path
Before you dive into the technicalities, decide on the type of server you want:
- Vanilla Server: The classic Minecraft experience, as intended by its developers. Great for purists who enjoy the game’s original flavor.
- Modded Server: If you’re looking to enhance or alter the gameplay with mods, this is the route for you. Modded servers require more resources and a bit of technical know-how to manage.
- Minecraft Realms: An official, subscription-based server hosting service provided by Mojang. It’s the simplest way to create a server, though it offers less control and flexibility compared to hosting your own.
Step 2: Preparing for Construction
Assuming you’re setting up a server on your own hardware or a rented dedicated server, here’s what you’ll need:
- A computer or server with adequate specs: The requirements vary based on the number of players and whether you plan to run a Vanilla or Modded server. For a small group of friends, a computer with at least 4GB of RAM and a reliable internet connection should suffice.
- The latest version of Java: Minecraft servers run on Java, so ensure you have the latest version installed.
Step 3: Laying the Foundation
- Download the Server Software: Head over to the official Minecraft website and download the server software for either Java Edition or Bedrock Edition, depending on your preference.
- Create a Server Folder: Make a dedicated folder on your computer or server to keep everything organized.
- Move the Server File: Place the downloaded server file (e.g.,
minecraft_server.1.xx.x.jarfor Java Edition) into your new folder.
Step 4: Igniting the Forge
- Run the Server File: Double-click the server file to run it. This will generate several new files in your folder, including
eula.txt. - Agree to the EULA: Open
eula.txtin a text editor, changeeula=falsetoeula=true, and save the file. This step is crucial as your server won’t start without agreeing to Mojang’s End User License Agreement.
Step 5: Fine-Tuning Your Realm
- Editing server.properties: This file controls all your server settings. Open it with a text editor to customize your world. You can set the game mode, difficulty, rules, and more.
- Port Forwarding: To allow external connections to your server, you’ll need to set up port forwarding on your router. This process varies depending on your router model, but you generally need to forward TCP port 25565 to the computer hosting your server.
- Launching Your Server: Run the server file again. If everything is set up correctly, your server should start, and you’ll be able to connect to it using your computer’s IP address (for local network play) or your external IP address (for players outside your network).
Step 6: Inviting Your Fellow Adventurers
Share your server’s IP address with friends or fellow gamers you wish to invite. Remember, running a server on your own computer may expose you to security risks, so only share this information with people you trust.
Step 7: Maintaining Your Kingdom
Running a Minecraft server is an ongoing adventure. Here are a few tips to keep your digital realm in top shape:
- Regular Backups: Protect your world from unforeseen catastrophes by regularly backing up your server.
- Updates: Keep your server software and Java version up to date to enjoy the latest features and security patches.
- Moderation: If your server grows in popularity, consider appointing moderators to help manage the community and maintain order.
Conclusion: The Adventure Awaits
Congratulations, noble architect! You’ve unlocked a new realm of possibilities in the world of Minecraft. Hosting your own server is not just about playing the game; it’s about creating a community, sharing experiences, and crafting memories that extend beyond the digital blocks. So, gather your companions, embark on this grand adventure, and carve out your corner of the Minecraft universe. The realm you’ve dreamed of is now a reality, ripe for exploration, building, and camaraderie. Happy crafting!
Добавить комментарий