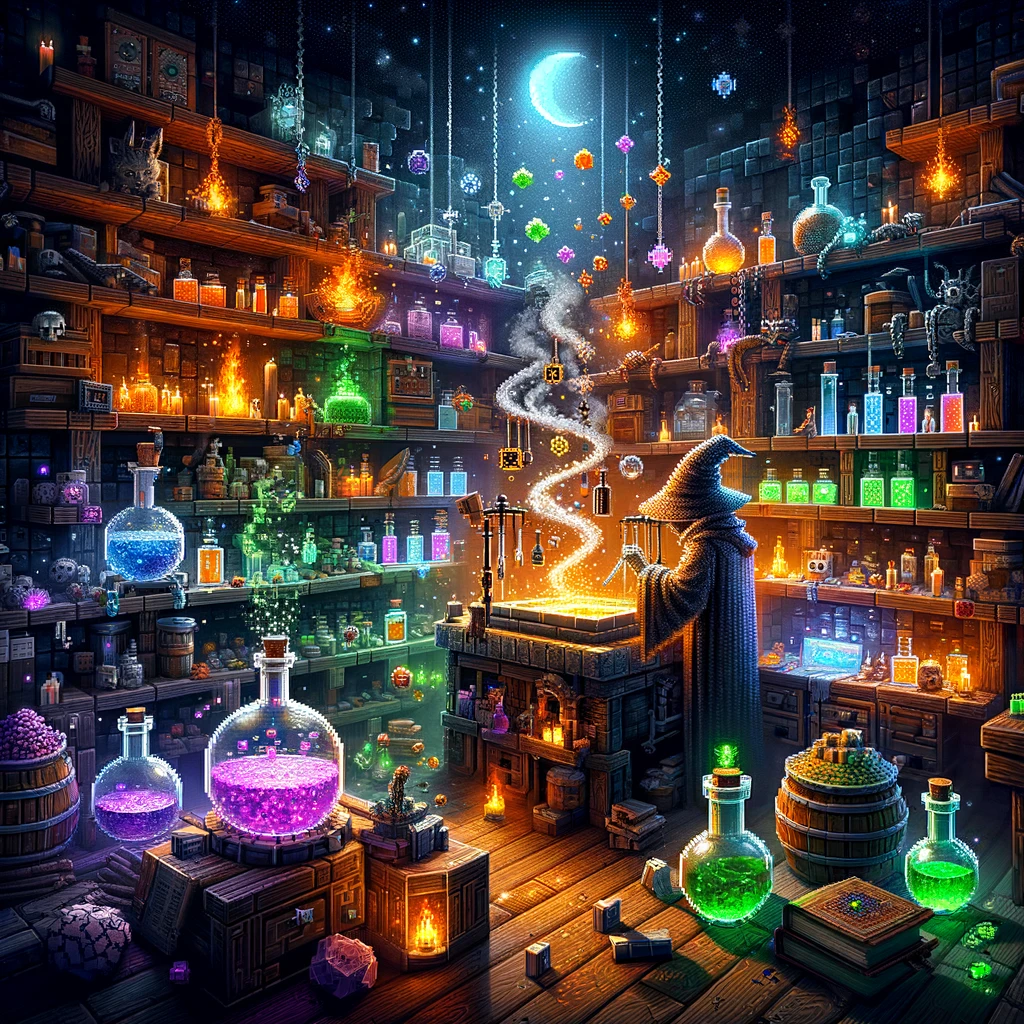
Ah, potion making in Minecraft – the closest thing we get to feeling like a wizard without actually enrolling at Hogwarts. Brewing potions can seem like alchemy mixed with a dash of witchcraft, but fear not! I’m here to guide you through the mystical world of potion brewing, where every bubbling concoction is a brew away from adventure (or misadventure, if you’re not careful).
Getting Started with Brewing
First things first, you’ll need a brewing stand. These are the bread and butter of any potion-making endeavor. You can find one in a village or craft it using a blaze rod (good luck with those Blazes) and three cobblestones. Don’t forget to gather some glass bottles by smelting sand because, let’s face it, you can’t store potions in your hands.
The Base Ingredients
Every great potion starts with a base. Here’s where you’ll need to collect water (easy) and nether wart (slightly less easy). Fill those glass bottles with water and start your brew with nether wart to create an Awkward Potion. It’s called «awkward» because, well, it’s the teenager of potions – not quite there yet.
The Magical Ingredients
This is where the fun begins. Depending on what potion you’re aiming to brew, you’ll add a specific ingredient to your Awkward Potion. Here’s a quick cheat sheet:
- Potion of Healing: Glistering Melon
- Potion of Fire Resistance: Magma Cream
- Potion of Strength: Blaze Powder
- Potion of Swiftness: Sugar
- Potion of Night Vision: Golden Carrot
- Potion of Water Breathing: Pufferfish (handle with care)
And the list goes on. The beauty of Minecraft is that there’s a potion for almost every occasion. Just remember, adding the wrong ingredient can lead to some… «unexpected» results.
Enhancing and Modifying Your Potions
So, you’ve brewed your first potion. Congratulations! But why stop there when you can make it stronger or last longer? Here’s where modifiers come into play:
- Redstone: Makes your potion last longer. Because why wouldn’t you want to see in the dark for eight minutes instead of three?
- Glowstone: Amplifies your potion’s effect. Double the strength, double the fun.
- Gunpowder: Turn any potion into a splash potion. Because sometimes, you just want to throw things at your friends (or enemies).
- Fermented Spider Eye: This is where things get interesting. Adding this to certain potions can reverse their effects, turning a Potion of Strength into a Potion of Weakness. It’s like the potion equivalent of a plot twist.
Experimentation is Key
The most important tip for Minecraft potion making? Experiment! The combinations are nearly endless, and you never know what useful (or hilarious) concoctions you’ll come up with. Just remember to keep notes, or you might end up like that witch in the swamp, endlessly cackling to herself without remembering why.
Practical Applications
Now that you’re equipped with the knowledge of potion brewing, what’s next? Use your potions to enhance your adventures! Take a Fire Resistance potion to the Nether, a Potion of Night Vision for exploring those deep, dark caves, or even a Potion of Leaping for when you feel like impersonating a Minecraft kangaroo.
Conclusion
Potion making in Minecraft is an art form, combining the thrill of exploration (for ingredients) with the satisfaction of creating something truly useful. Whether you’re gearing up for a fight, preparing for an exploration, or just looking to have some fun, there’s a potion for that. So, gather your ingredients, fire up your brewing stand, and let the magic begin! Who knows? You might just brew the potion that saves your life or wins the day. Happy brewing, fellow alchemists!
Добавить комментарий