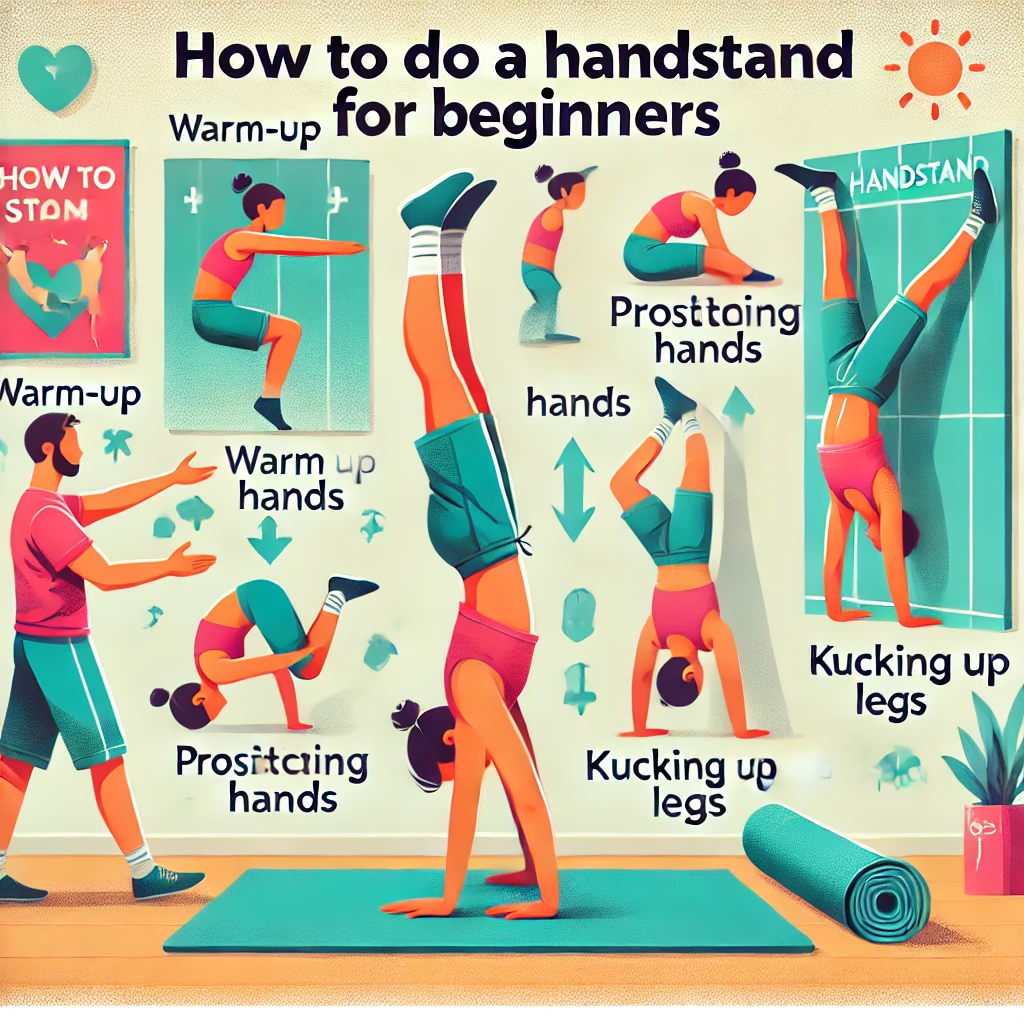
Handstand for Beginners
Learning to do a handstand can be exciting and rewarding. It improves balance, strength, and confidence. While it may seem challenging at first, breaking it into manageable steps makes it easier. Here’s a beginner-friendly guide to help you master a handstand safely and effectively.
1. Prepare Your Space
Why It’s Important:
A safe environment prevents injuries and builds confidence.
How to Do It:
- Find a clear, flat surface with enough space.
- Use a soft surface like a yoga mat, carpet, or grass to cushion falls.
- Practice near a wall for extra support and safety.
Tip: Avoid hard surfaces like concrete, especially when starting out.
2. Warm Up Properly
Why It’s Important:
Warming up loosens your muscles and reduces the risk of injury.
Warm-Up Routine:
- Wrist Rolls: Circle your wrists in both directions for 30 seconds.
- Arm Circles: Swing your arms forward and backward for 10–15 reps.
- Shoulder Stretches: Hold each stretch for 20 seconds.
- Cat-Cow Pose: Alternate between arching and rounding your back for 10 reps.
Tip: Spend at least 5–10 minutes warming up to ensure your muscles are ready.
3. Build Strength and Balance
Why It’s Important:
A strong upper body and core are essential for holding a handstand.
Exercises to Practice:
- Plank Holds: Strengthen your shoulders and core (hold for 20–30 seconds).
- Wall Walks: Face a wall, walk your feet up the wall, and your hands closer to the wall.
- Donkey Kicks: Kick your legs up slightly while keeping your hands on the ground.
- Core Workouts: Practice hollow body holds to improve balance.
Tip: Consistent practice of these exercises will make transitioning into a handstand easier.
4. Practice the Kick-Up Against a Wall
Why It’s Important:
Using a wall helps you find your balance and reduces fear of falling.
Steps:
- Place your hands shoulder-width apart on the ground, about a foot away from the wall.
- Step one foot forward into a lunge position.
- Shift your weight onto your hands and kick your back leg up toward the wall.
- Follow with your other leg, letting both feet touch the wall for support.
- Hold the position for a few seconds, then come down gently.
Tip: Keep your arms straight and engage your core for better control.
5. Focus on Alignment
Why It’s Important:
Proper alignment keeps your handstand stable and reduces strain on your body.
Key Points:
- Hands: Spread your fingers wide for a solid base.
- Arms: Keep them straight and strong, with shoulders engaged.
- Head: Look at the ground between your hands.
- Body: Maintain a straight line from your hands to your toes.
Tip: Imagine your body as one long, straight line to maintain form.
6. Practice Balance Without the Wall
Why It’s Important:
Learning to balance independently is the ultimate goal.
How to Do It:
- Start in a wall-supported handstand.
- Gently lift one foot off the wall, then the other.
- Focus on holding the handstand position for a few seconds.
- Gradually practice kicking up into a free-standing handstand.
Tip: Use small, controlled movements to avoid overbalancing.
7. Learn How to Fall Safely
Why It’s Important:
Knowing how to fall reduces fear and prevents injuries.
How to Fall:
- Cartwheel Out: If you lose balance, let one leg swing down and turn your body sideways into a cartwheel.
- Tuck and Roll: Tuck your head and roll forward if you fall over.
Tip: Practice falling intentionally to build confidence.
8. Stay Consistent with Practice
Why It’s Important:
Regular practice builds strength, confidence, and muscle memory.
Tips for Practice:
- Set aside 10–15 minutes daily to work on your handstand.
- Focus on one aspect at a time, such as form or balance.
- Celebrate small wins, like holding the position for 3 seconds.
Tip: Patience is key—progress may be slow but steady.
Common Mistakes and How to Fix Them
- Bent Arms:
- Cause: Weak shoulders or lack of focus on form.
- Fix: Practice plank holds and focus on keeping arms straight.
- Arching the Back:
- Cause: Lack of core engagement.
- Fix: Tighten your core and imagine pulling your ribs toward your hips.
- Kicking Too Hard:
- Cause: Fear of not reaching the wall or balance point.
- Fix: Use controlled kicks and trust your strength.
Final Thoughts
Learning a handstand takes time, patience, and consistent practice. Focus on building strength, mastering your form, and practicing regularly. With dedication and effort, you’ll be holding a handstand confidently in no time. Keep practicing, and enjoy the journey!
Добавить комментарий