How to Fix a Leaking Faucet: A DIY Guide to Save Water and Money
Introduction: The Drip That Won’t Stop
How often do you find yourself staring at a faucet that just won’t stop dripping, even after you’ve turned it off tightly? A leaking faucet can be annoying and costly, wasting gallons of water over time. But don’t worry, you don’t need to call a plumber for every little leak. Here’s how to fix a leaking faucet yourself, saving both water and money.
Step 1: Identify the Faucet Type
How can you fix a faucet without knowing its type? Start by identifying it:
- Compression Faucet: Has separate handles for hot and cold water. The leak is usually due to a worn-out washer.
- Ball Faucet: Has a single handle that moves in multiple directions. The ball mechanism controls water flow and is often the culprit behind leaks.
- Cartridge Faucet: Also has a single handle but uses a cartridge to control water flow. Leaks often occur when the cartridge is damaged.
- Disc Faucet: Features a single lever controlling ceramic discs that regulate water flow. Leaks occur when the discs or seals wear out.
Step 2: Gather Your Tools
How do you proceed without the right tools? Make sure you have:
- Screwdrivers: To remove faucet handles and other components.
- Wrenches: An adjustable wrench or pliers to loosen nuts and fittings.
- Replacement Parts: Such as washers, cartridges, or seals, depending on your faucet type.
- Plumber’s Tape: Useful for sealing threads to prevent future leaks.
Step 3: Turn Off the Water Supply
How do you avoid making a mess? Before dismantling your faucet, turn off the water supply:
- Under-Sink Valves: Look for the valves under the sink and turn them clockwise to shut off the water flow.
- Main Supply: If there’s no under-sink valve or it doesn’t work, turn off the main water supply to the house.
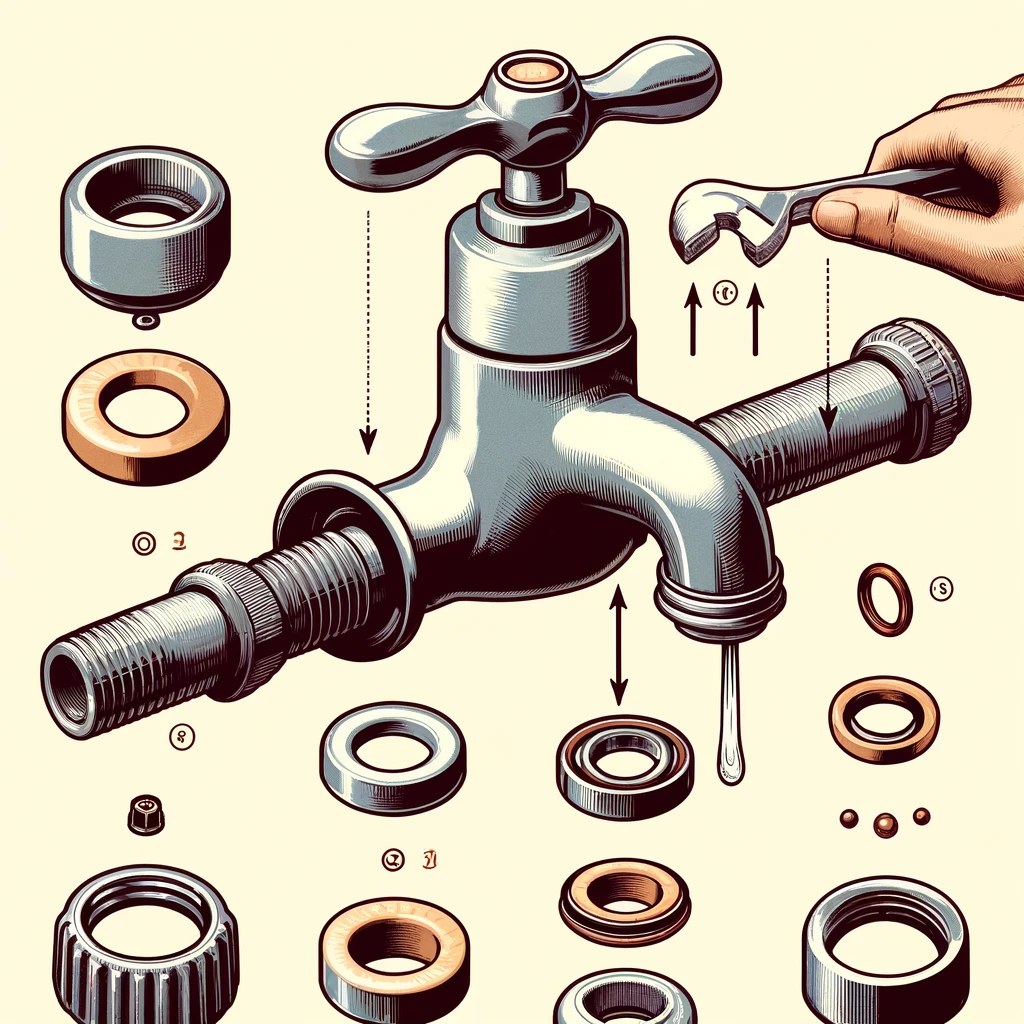
Step 4: Dismantle and Inspect
How do you find the source of the leak? Carefully dismantle the faucet:
- Remove the Handles: Use a screwdriver to remove any screws holding the handle in place, then lift it off.
- Check the Internal Components: For compression faucets, remove and inspect the washer. For other types, check the cartridge, ball, or discs for damage.
Step 5: Replace or Repair Components
How do you fix the problem once identified? Replace or repair faulty components:
- Washers and O-Rings: Replace worn-out washers or O-rings in compression faucets.
- Cartridges and Balls: For cartridge or ball faucets, replace the damaged components entirely.
- Disc Faucets: Replace worn-out seals or ceramic discs.
Step 6: Reassemble and Test
How do you ensure the repair worked? Reassemble the faucet and test it:
- Put Everything Back Together: Reverse the steps used to dismantle the faucet, ensuring all components are tightly secured.
- Turn the Water Back On: Slowly turn the water supply back on and test the faucet for leaks.
- Check for Leaks: If the faucet still leaks, double-check that all components are installed correctly and tightened.
Conclusion: A Drip-Free Faucet
How can you save water and money in your home? By following these steps, you can repair a leaking faucet yourself, avoiding unnecessary costs and reducing water waste. So gather your tools, fix the leak, and enjoy the peace of mind that comes from a job well done. Happy fixing!
Добавить комментарий